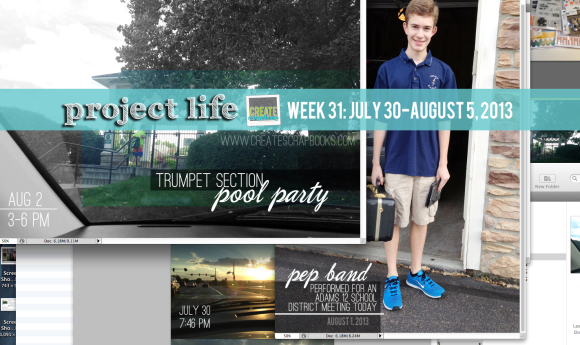
Today I have a new process video where I show you my process of editing an iPhone photo in Photoshop (edit, resize, and add text) for my Project Life scrapbook this week.
I love to use my iPhone and edit through Photoshop each week for my Project Life layouts. It saves me time, I get the image exactly the way I like, and is convenient for me to do it all myself (including printing).
Weekly I use:
- iPhone and/or my Nikon DSLR camera to take photos
- iMac, iPhoto to import my images
- Photoshop to edit, resize, and text/design Project Life pictures and elements, and save my designs – Note: You could use Photoshop Elements as well to do these simple tasks!
- HP Photosmart (A646) 5×7/4×6″ compact printer with HP photo papers
In this video I take you through my process of:
- 1. Import/export a photo from iPhoto into Photoshop
- 2. How to easily set the size and crop an image to 4×6″ to print at home
- 3. How to use a layer/create a layer in Photoshop to add text as a layer on top of your photo
- 4. How to save and print
I have started this new weekly Project Life video process series on YouTube to help me keep on track with my own PL scrapbook, share and connect with you, and hope it gives you some great ideas and motivation for your own Project Life and scrapbooking in general.
I would love to hear your comments and you can subscribe on my channel to see the latest Create Scrapbooks videos in your subscription feed at YouTube here – http://youtube.com/createscrapbooks.
My goal is to share what I am doing, what has been working for me for my scrapbooking, share some files I have created that I feel are useful for my everyday scrapbooking processes. The next video later this week will be the Project Life layout I created for Week 31!


2 comments